Simulate with ModelSim (en)
![]() Simulate with ModelSim
Simulate with ModelSim
ModelSim - simulation software
ModelSim can be used to simulate VHDL-code, to determine whether it is "right" thinking. The Altera version of ModelSim is also integrated with a "database" with facts about Altera-chips, eg. MAX-chips, so one can also do simulations that take into account the "time delay" and other phenomena within the intended target circuit. ( As long as the target circuit is of Altera's brand ... ).
![]()
Select the correct software version - in school there are several versions installed in the Start menu!
Altera 13.0.1.232 Web edition\
    ModelSim-Altera Starter Edition 13.0.1.232\
          ModelSim-Altera 10.1d(Quartus II 13.0sp1)
Start ModelSim.
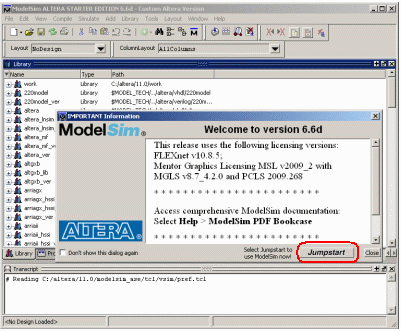
In the window "important information" you click on Jumpstart to get help with setting up a project.
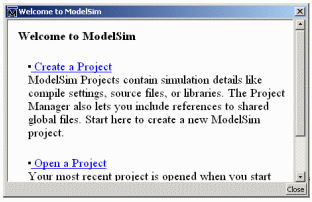
Then you click on "Create a Project" in the welcome window.
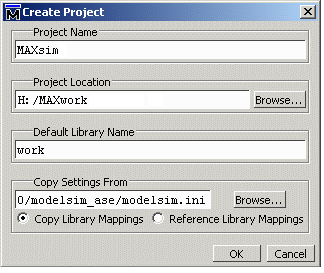
Create a project.
Project Name MAXsim can be a suitable name Project location H:/MAXwork browse to the same folder you used for Quartus. Default Library Name work keep the suggested name, it's the standard at VHDL-simulation
Click on OK.
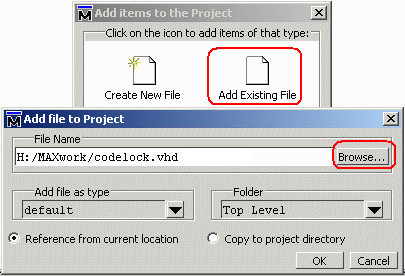
We choose "Add Existing File" to add a VHDL-file to the project.
"Browse" to the file codelock.vhd that we created earlier with Quartus.
Click on OK. Then clic on Close.
Codelock code in ModelSim
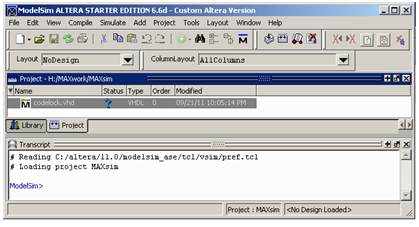
ModelSim has a own compiler to produce the code for simulation. Though we have compiled the VHDL code in Quartus we must now compile it again for ModelSim.
![]()
Choose Compile menu, alternative Compile All.
![]()
Now the VHDL-code is also compiled for Modelsim.
Status symbol changes from a blue question mark to a green check!
Simulate codelock-template!
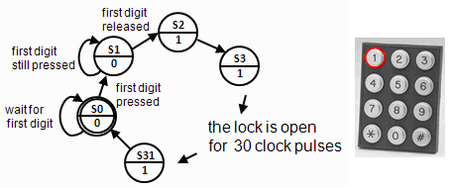
We simulate by giving different commands in the Transcript-window, and then follow some selected signals in the window Wave.
Transcript-window is a terminal window where you enter commands, but you can also give most commands by menu selection, or by clicking on buttons. Commands are always written in the Transcript-window, regardless of how they are given.
Load the Design to simulator..
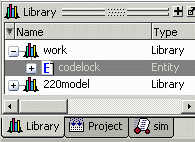
Choose the tab Library, and open the folder work. Doubleclick on "Entity" codelock. A series of commands are now executed resulting in that the design is loaded into the simulator.
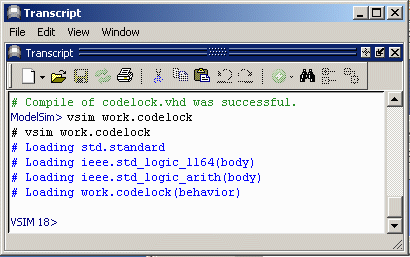
In the Transcript-window you can follow the commands executed.
Prepare simulation
We need to have a number of windows open in order to follow the simulation.
| Give thees commands in Transcript-window or check in the View-menu. VSIM> view objects VSIM> view locals VSIM> view source VSIM> view wave -undock |
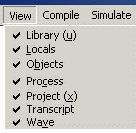 |
![]()
Modelsim consists of "windows". It can be hard to see everything at the same time. With the button Zoom/Unzoom you can enlarge the window. With the button Dock/Undockthe window can be moved to any location, it is that alternative we choose for Wave-window. With the button Close those windows not needed for the time can be closed.
Signals in Wave window
If you have many signals, it is a good idea to select the signals you are interested to follow in Wave-window, but this time we choose to follow them all:
add wave *
There are several ways to add signals to the Wave-window:
- Select signals in Object-window (Shift+Left Button) and "drag and drop" the selection to Wave-window.
- Right-click in the Object-window and choose Add to Wave.
- A Add to Wave dialoge-window is reachable from the menu, Add.

Format, Radix, Hexadecimal
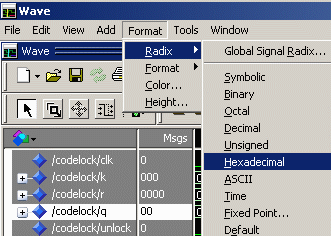
The state variable q has 32 different states, such a variable is easier to follow if it is presented as a hexa-decimal number, 00 ... 1F instead of a binary number. We therefore suggest that you check the variable and change the presentation to hexadecimal. UUUUU is exchanged to XX in the Wave-window. Other variables are best suited to be presented as binary numbers.
Create stimuli

The default time resolution in Wave is nanoseconds, ns. A suitable clock frequency for a code lock may however be as low as 5 Hz, or a period time of 0.2 sec.
The easiest way, of not having to make extensive adjustments of the program, is to "scale" our problem to a higher clock speed with a period of 20 ns. We then has to imagine that there are fast fingers that press the keys!

Stimuli, Inputsignals as clock pulses or key-presses, are created with the command force in the Transcript-window.
force codelock/clk 1 0ns, 0 10ns -repeat 20ns
Generates clockpulses for ever.
force codelock/k 000
force codelock/r 0000
Initiates variables r and k.
run 100ns
Runs the simulation in 100 ns, which is five clock cycles.
Simulate keypresses
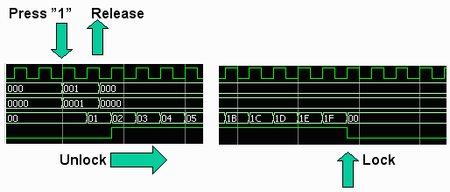
You can Zoom in the Wave-window. Choose View, Zoom, and Zoom Full or Zoom Last.

force codelock/k 001
force codelock/r 0001
run 30ns
force codelock/k 000
force codelock/r 0000
run 800ns
30 ns (20+10) means that the keypress is certain be in the gap between the clock edges. The full simulationtime 100 ns +30ns + 800 ns = 930 ns corresponds to 46.5 clock pulse periods. This is enough to show the lock's entire opening sequence.
Do-file
Instead of writing single commands in Transcript-window, you can run many commands in sequence from a Do-file.
Alternatively, you can copy the text in Windows (Ctrl-C) and paste it (Ctrl-V) in Transcript.
delete wave *
add wave codelock/clk
add wave codelock/k
add wave codelock/r
add wave codelock/q
add wave codelock/unlock
force codelock/clk 1 0ns, 0 10ns -repeat 20ns
force codelock/k 000
force codelock/r 0000
run 100ns
force codelock/k 001
force codelock/r 0001
run 30ns
force codelock/k 000
force codelock/r 0000
run 800ns
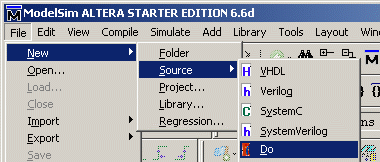
This is how to create a Do-file. Paste text commands above in the file. Then save it among the other files (in MAXwork) with extension .do.
You run a Do-file with these commands (in Transcript):
restart -f
do lock.do
Find in the Wave window

It can be difficult to find what you are looking for in the Wave window. Therefore, there is a whole series of tools like Zoom, Expanded time, Cursors ...
Add, Cursor.
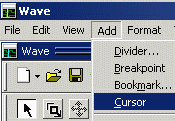
A Cursor can be used together with the function Edit, Wave Signal Search.
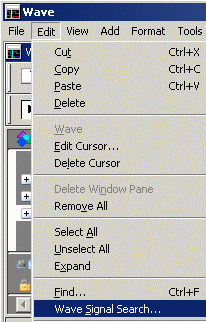 |
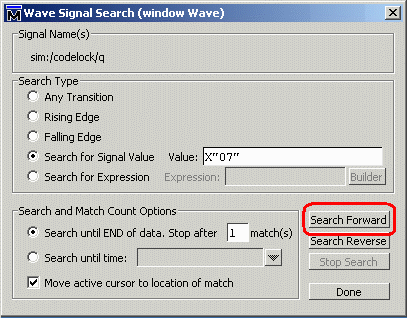 |
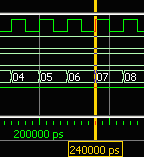
Now the Cursor points what happens (this time nothing special!) when q has the state 07.
Spend a little time now to try different tools available for orientation in Wave Window!